


 TR4 Floor Replacement - Page 2
|
Macy's Garage, Ltd. America's BEST Triumph Shop! |
 |
 |
 |
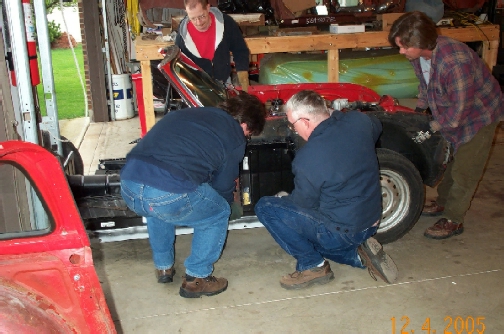 |
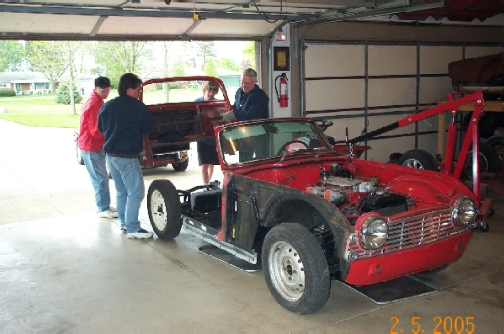
| Nice new Sawzall blade slices through Triumph sheet metal like butter! | Local Triumph Guys help lift the front body section from the old chassis, | and take it directly to it's new home on the new frame and floor assembly. | With a few little tweaks, the front body section settles into place perfectly. |
 |
 |
 |
 |
|
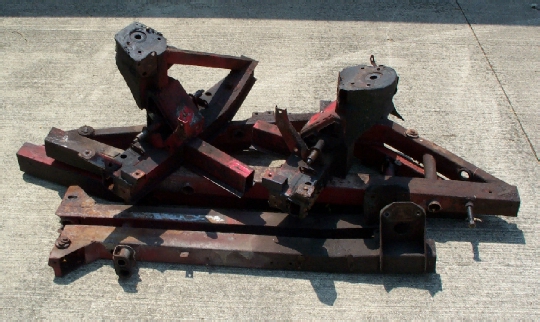
I'm tempted to connect the 2 frames and place a hot tub in the center!
|
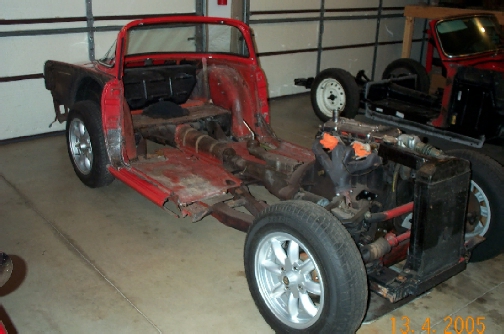
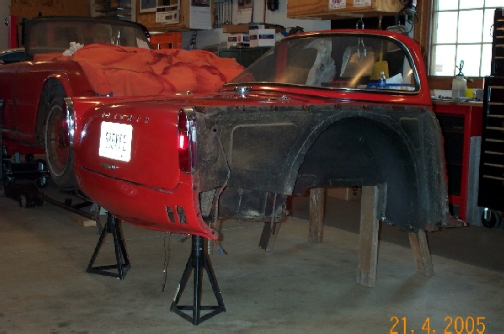
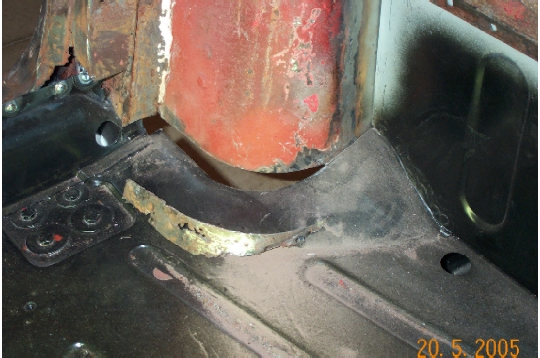
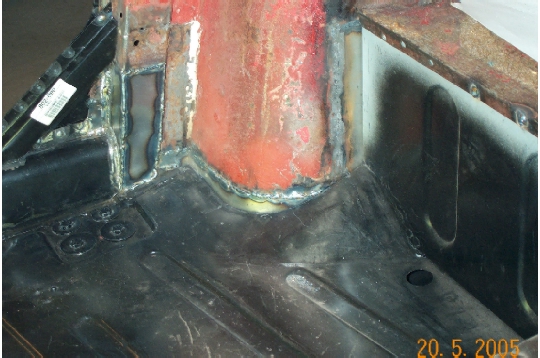
Front body mounts locate this section, so it's OK to weld the A posts and firewall to the floors. | The spare tire pan has to be replaced before this section can moved over to the new frame. | Spare tire pan installs from below, so the rear body section must be elevated as shown. |
 |
 |
 |
|
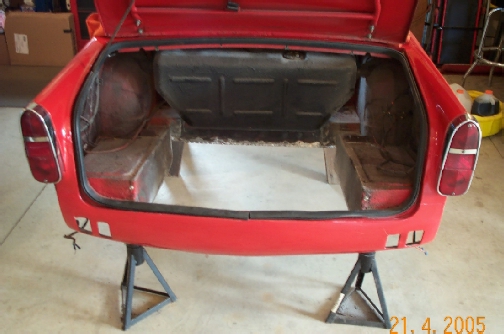
| Many hours of work were required to remove the old pan without damage to adjacent panels. | Spare tire pan welded in place, the rear 1/2 re-joins the front. W/shield & back glass remained in place to aid with door alignment later. | This is about all you can do with a rusty old Triumph frame. The sawzall blade worked well again! | After a temporary fitting of doors and fenders to check and adjust door gaps, the rear section can be welded in place. |
 |
 |
 |
 |
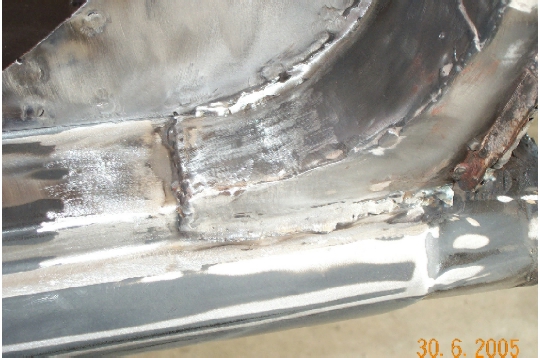
| With door gaps set, fenders come off to install outer sills. Be sure to check the fit along the bottom edge of the door. | Now's the time to repair the rusted areas of the rear wheel arches and lower B post. | Start by removing all weak metal. Clean and straight edges help when forming patches and welding into position. | A structurally sound repair with all new repair pieces in place. Welds will be ground smooth for an "invisible" repair. |
 |
 |
 |
 |
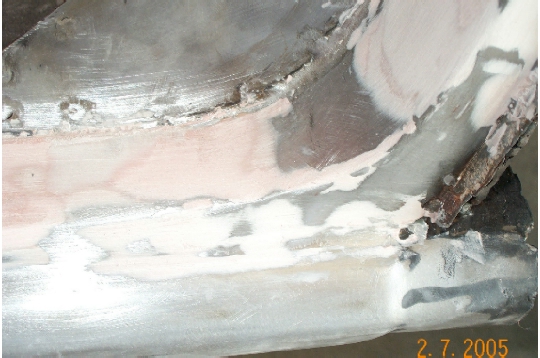
| Lower A and B posts will require work for a smooth joint with the new rockers (sills). | Lead is applied and filed down after grinding the welds with a die grinder and small stone. | A thin layer of plastic filler (bondo) is added to smooth out imperfections in the lead. | Time to paint the door jambs and rockers. Only 24 days until we leave for VTR Rockford! |
|
|
|
 |
 |
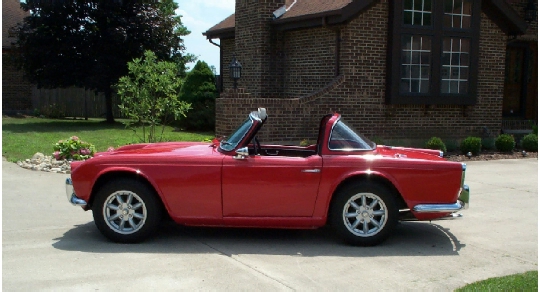
| With paint work complete, it's time to start bolting parts back on. Only 14 days until VTR! | The countdown continues, with 10 days remaining before VTR. I think I'm going to make it! | After 5 months and 250 hours of work, the car is ready to go to VTR (and only 32 hours before departure)! | Now it looks like new on the bottom. Too bad the top side isn't this nice, but it is a top notch driver! |